How to create an S/MIME certificate for your email address
Last updated
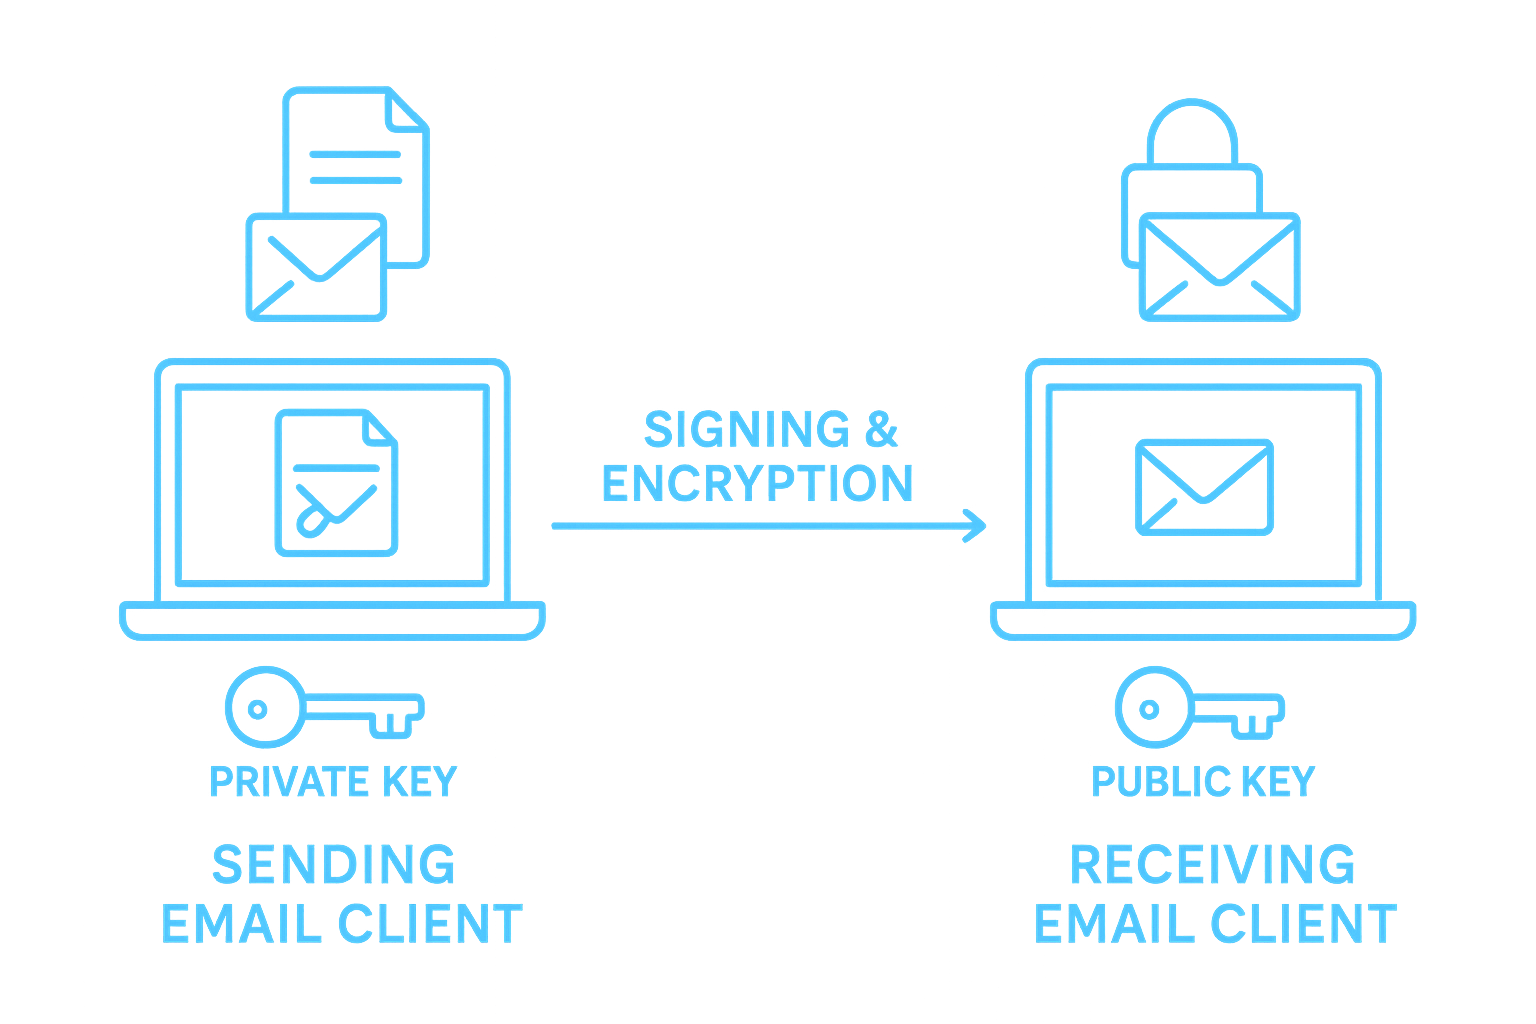
An S/MIME certificate is an X.509 digital certificate that lets you sign and encrypt email.
- Email encryption and decryption – protects message confidentiality, so only the intended recipient can read the content.
- Email and document signing – proves message integrity (no tampering) and authenticity (verifying identity).
Unlike TLS, which only protects email while in transit, S/MIME provides end-to-end security between you and your recipient. Certificates can be self-signed, but using a trusted Certificate Authority (CA) makes validation easier and improves trustworthiness.
The key pair created below can be used to sign, verify, encrypt, and decrypt email.
Step 1: Generate your private key
This creates an encrypted, password-protected 4096-bit RSA private key. Keep the password safe in your password manager and do not share it.
Recommendation: use a new and unique password (not used elsewhere) of 20 characters or more. A local random password generator produces better passwords than humans do.
openssl genrsa -aes256 -out myemailaddress.key 4096Tip: never use online services to create a private key or a CSR. The service may keep a copy of your key.
Step 2: Generate a Certificate Signing Request (CSR)
Use your private key (password needed) to generate a Certificate Signing Request, which you’ll submit to a CA or use for self-signing.
The only fields you need to fill in are Common Name (CN) and Email. Enter a dot
(.) for all the others.
openssl req -new -key myemailaddress.key -out myemailaddress.csrStep 3: Verify the Certificate Signing Request
This is a verification step to make sure everything looks correct before sending the request to a CA for signing. Check that the Common Name and email address are exactly what you expect.
If it is not correct, delete the .csr file and repeat step 2.
openssl req -in myemailaddress.csr -noout -text -verifyStep 4: Get your certificate
You have two options:
- Trusted CA: recommended for interoperability; easier for recipients to trust your certificate.
- Self-signed: works for personal use, but recipients must manually trust your certificate.
Save the issued certificate as myemailaddress.pem — the following steps
assume that filename.
Step 5: Create a PKCS#12 bundle with your certificate and private key
This example is for the Outlook email client. You need to create a bundle of the certificate and private key (password needed) in PKCS#12 format.
You do not need to add the CA chain.
openssl pkcs12 -export -in myemailaddress.pem -inkey myemailaddress.key -out myemailaddress.pfxStep 6: Install the certificate in your email client
Once issued, install the certificate along with your private key:
- Outlook: File → Options → Trust Center → Email Security → Import/Export
- Thunderbird: Settings → Privacy & Security → Certificates → Manage Certificates
- Apple Mail: double-click the certificate file to add it to Keychain, then enable it in Mail preferences
Step 7: Create a copy of your certificate in DER format
If you want to publish your certificate or share it with someone before communicating, DER format makes it easy to import — on Windows, for example.
The difference between PEM and DER is the encoding format (text/Base64 versus binary):
- PEM (Privacy-Enhanced Mail)
- Encoding: Base64 (ASCII) with header/footer lines like
-----BEGIN CERTIFICATE----- - Use case: human-readable, easy to copy/paste into text files or configs. Common on Unix/Linux systems.
- File extensions:
.pem, .crt, .cer, .key
- Encoding: Base64 (ASCII) with header/footer lines like
- DER (Distinguished Encoding Rules)
- Encoding: binary (ASN.1 DER format)
- Use case: compact, not human-readable. Often required by Windows systems and Java keystores.
- File extensions:
.der, .cer
openssl x509 -in myemailaddress.pem -out myemailaddress.der -outform DERShare the certificate file with the .der extension.
Step 8: Test signing and encryption
Start by sending a digitally signed email — this shares your public certificate with the recipient. Once you receive their certificate, you can send encrypted emails.
Need help rolling this out across an organisation?
We help teams deploy S/MIME, PGP and the wider email security stack.
Get in touch